At first, home automation is exhilarating: a light that turns on “by itself”, a sensor that alerts you, a button that triggers a scene… Then reality kicks in. For us, the wake-up call was simple: when something breaks at the wrong moment (on a rushed morning, or in the evening when everyone’s tired), home automation stops being “cool”. It becomes a source of friction.
After a year and around fifty devices, I understood that the real challenge isn’t adding gadgets. It’s building a stable, understandable, and acceptable installation for everyday life: savings, security, a solid network… and zero headaches.
Here are the mistakes that cost me time (and energy)… and the choices that make all the difference for a simple, reliable smart home that stays enjoyable to live with.
Quick note:
This list isn’t meant to be exhaustive. There are obviously plenty of other possible mistakes (and other important topics). But these are the ones that actually caused me problems, based on my goals and especially as my installation grew and my needs evolved. In other words, it’s the most useful feedback I wish I’d read before getting started.
❓ Why your smart home quickly becomes a nightmare
The classic trap is thinking in terms of “features”. Whereas at home, you need to think “system”.
- A system needs maintenance. The more brands, batteries, hubs and integrations you pile on, the more you increase mental load.
- A system must be robust. If Home Assistant has an issue, your home shouldn’t turn into an escape room.
- A system must be accepted. Home automation works much better if it brings comfort, savings and security, without disrupting habits.
Essential rule: keep a “normal” fallback
Switches, blinds, heating: maintain consistent behavior even if the “smart” part fails. Home automation should improve the home, not replace it.
⚠️ Mistakes I’d avoid… and what to do instead
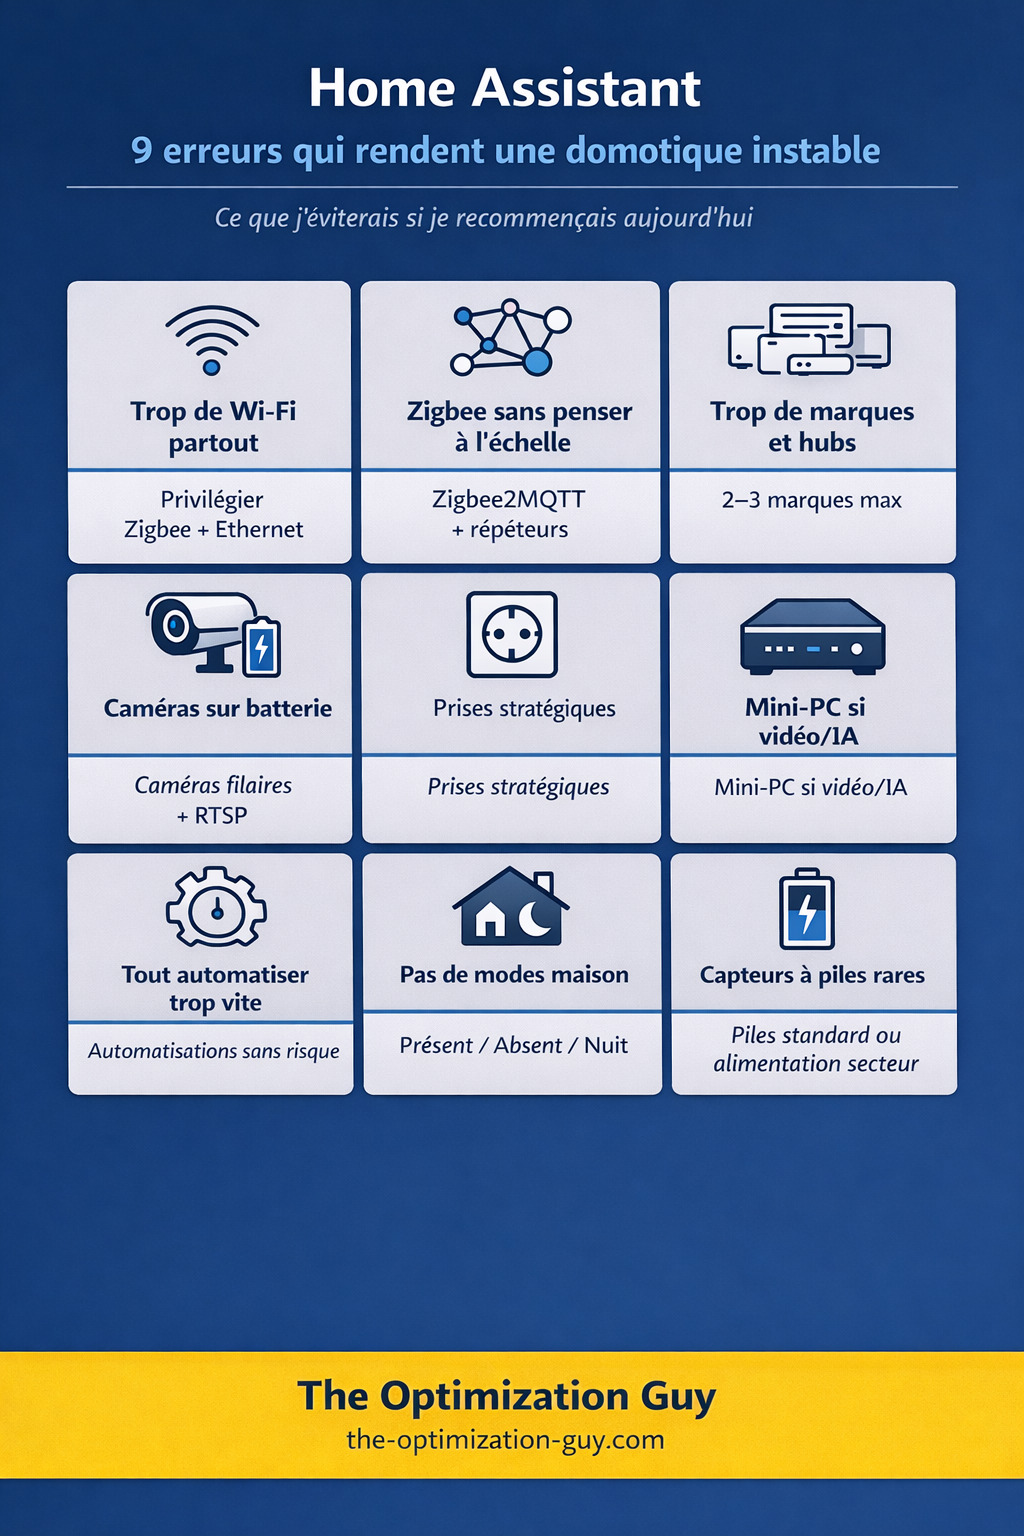
1) Putting Wi-Fi everywhere “because it’s simple”
Mistake: multiplying Wi-Fi devices (bulbs, plugs, cameras, alarms…), then discovering the joys of network saturation, disconnections, firmware updates… and “everything depends on the internet”.
A sobering experience: during a holiday, my internet router crashed. Blackout. Immediate result: no visibility on cameras, no feedback from the alarm system, and a very unpleasant feeling of not knowing what’s happening at home. It creates needless stress… which is the exact opposite of the goal.
Instead:
- use Zigbee as the default protocol for sensors/plugs/bulbs,
- keep Wi-Fi for devices that genuinely need it,
- strengthen your network foundation (it holds everything together).
Definition — Wi-Fi mesh
A “mesh” Wi-Fi uses multiple access points that work together to cover the home without dead zones. It’s a game changer if you have multiple floors, thick walls, or many connected devices.
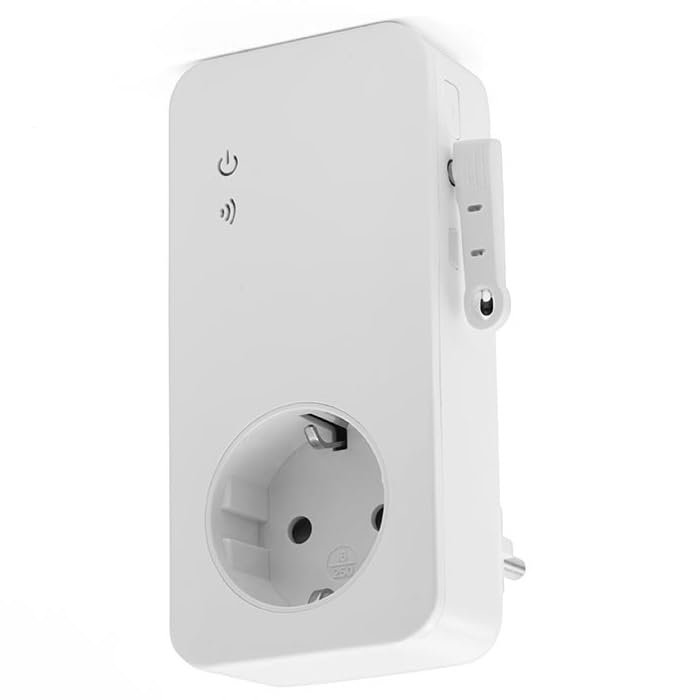
My “anti-crisis” solution, extremely practical: I got a GSM plug with a SIM card. It lets me switch the router’s socket off and on remotely, even without internet (it uses the mobile network). Honestly: it’s simple, it prevents panic, and I recommend it.
Good practice:
- everything “infrastructure” → Ethernet where possible (router, switch, access points, server, NVR),
- Wi-Fi → for mobile devices and anything that can’t be cabled.
2) Starting Zigbee without thinking about scale
With 10 devices, almost everything is “easy”. With 50, even the smallest initial choice can become a headache.
Mistake: starting with ZHA “to get going quickly”, then regretting it when the installation grows.
Instead: if you know you’re going to scale up, start directly with Zigbee2MQTT.
Definition — ZHA vs Zigbee2MQTT
ZHA: built into Home Assistant, simple to get started.
Zigbee2MQTT: more compatibility and fine-grained settings, often more comfortable when the device count grows (diagnostics, options, device support).
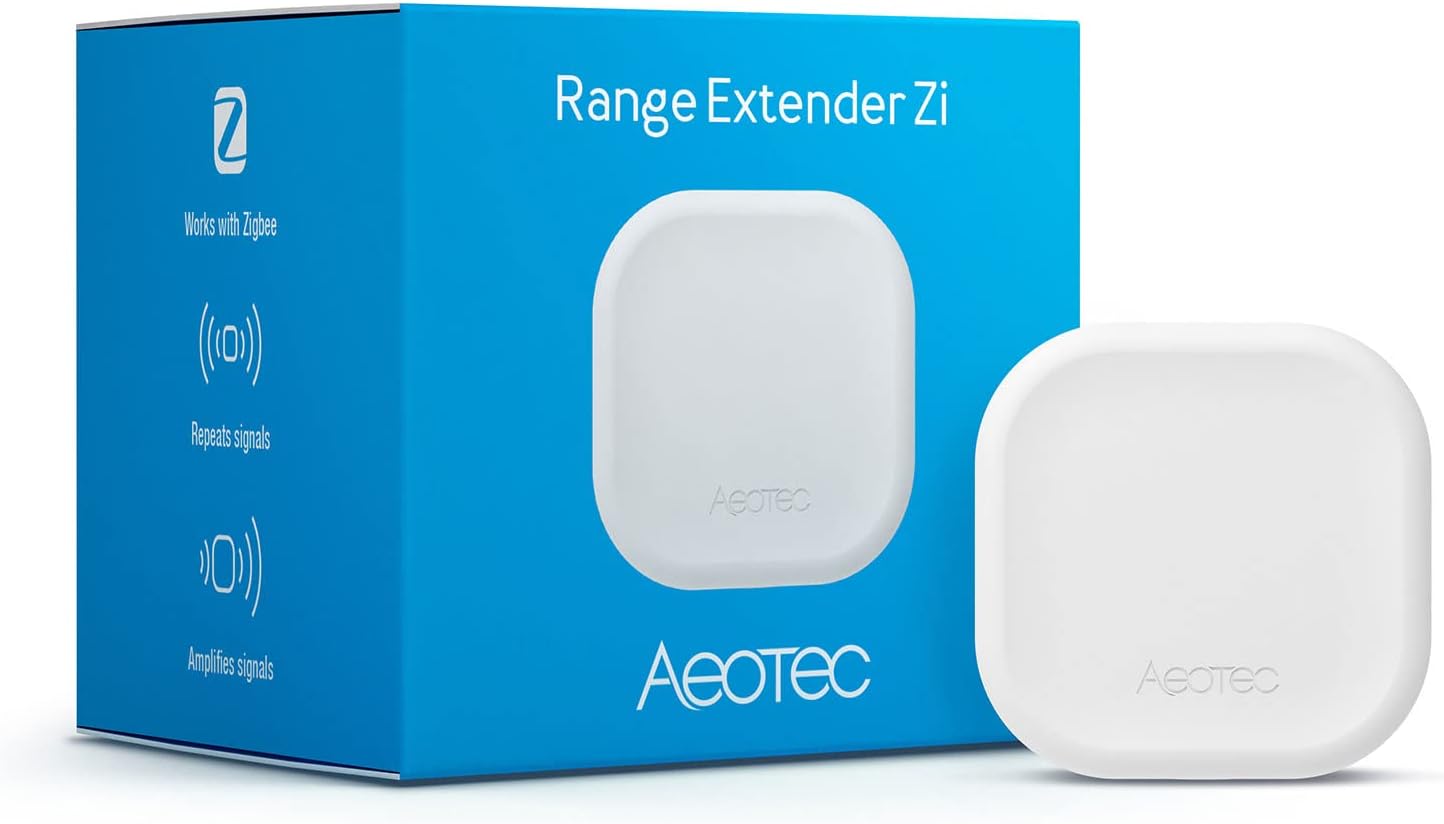
Feedback: repeaters are a game changer. I added 2 Aeotec Zigbee repeaters: one in the garage, and one at the far end of the house. Result: my Zigbee network became much more stable. Fewer “unreachable” sensors, less latency, less “why isn’t it responding?”.
Definition — Zigbee mesh network
A mesh network is one where some devices can relay the signal. In Zigbee, mains-powered devices (plugs, modules, repeaters) act as relays and extend coverage.
3 actions that prevent 80% of Zigbee problems:
- Position the coordinator intelligently (not right next to the server, use a USB extension if needed).
- Add mains-powered Zigbee devices (plugs, modules, repeaters) to strengthen the mesh.
- Standardize your brands (see next point).
3) Spreading across too many brands — and therefore too many hubs and apps
Mistake: buying “the best product” from 8 different brands, then ending up with:
- multiple hubs,
- multiple apps,
- heterogeneous integrations,
- permanent maintenance.
My concrete case (and what I’d do differently): I started with Blink cameras (I don’t recommend them), then migrated to Tapo, then to Reolink. Along the way, I accumulated hubs: 2 Tapo hubs, 1 Tado hub, 2 SwitchBot hubs, 1 Reolink hub, etc.
It works… but it complicates everything: updates, different behaviors, accounts, dependencies, and longer troubleshooting when something breaks. Not to mention it takes up space and requires available sockets.
Instead:
- set yourself a simple rule: max 2–3 brands per category (sensors, lighting, cameras…),
- favor interoperable devices (local, standards, stable integrations),
- avoid products that lock you into a mandatory app/hub if it’s not a deliberate choice.
Goal: reduce mental load
Fewer brands = fewer docs, fewer firmware versions, fewer different behaviors, and more stability.
4) Choosing battery cameras when you want RTSP / an NVR
Mistake: a battery camera seems practical… until you need a reliable, usable, continuous stream.
Instead:
- favor wired cameras,
- check RTSP support before buying,
- if possible: a stable network (ideally wired).
Personally, I went with Reolink cameras which support this and integrate perfectly with Home Assistant.
Definition — RTSP
RTSP is a protocol that allows retrieving a “standard” video stream. It’s often the basis for properly integrating a camera into a surveillance/NVR system.
Why battery cameras often cause problems:
- they cut the stream to save energy,
- they wake up too late,
- they don’t always provide a stable RTSP stream.
5) During renovation, not planning “smart home” sockets
This is typically the kind of mistake you regret… when the walls are already done.
Mistake: placing sockets as in a “non-automated” home, then improvising afterwards (extension cords, visible chargers, sensors impossible to power).
Instead: plan strategic sockets (sometimes at different heights) for:
- discreetly powering LED strips,
- powering presence sensors that are often mains-powered,
- avoiding visible cables.
Checklist — smart socket positions to plan
• Behind curtains (LED strips)
• Near entrances (sensors, repeaters, doorbell)
• High up / ceiling corner (mains-powered presence sensors)
• Cupboards / utility room (infrastructure: hubs, switch, router, UPS)
• TV unit (discreet power, network, lighting)
6) Underestimating the hardware when targeting video / AI
Reality: a base like Home Assistant Green is perfect to start. But as soon as you add video, analysis, and storage, it can become too tight.
Mistake: sizing for today, then adding Frigate, cameras, and processing.
Instead:
- start light if you’re just beginning, but if video is on your roadmap: switch earlier to a mini-PC (or equivalent),
- get the server and network properly sorted (Ethernet, storage, backups).
Why headroom matters
I’m currently in this situation: I want to set up Frigate on a few cameras (bird recognition in particular), with video storage. The Home Assistant Green is too underpowered for this.
7) Wanting to automate everything at once
Mistake: starting with “critical” automations (heating, blinds, main lights), and creating frustration at the first bug.
Instead: start with low-risk automations: if they fail, nobody complains.
Very safe examples:
- turning on an ambient light in the evening,
- “door left open” notification,
- cutting a non-essential power strip at night.
Simple rule
If a broken automation annoys you daily, it’s too critical for your starting phase.
8) Not setting up “home modes” from the start
Mistake: stacking independent automations, then no longer understanding “why is this turning on” or “why isn’t this turning on”.
Instead: quickly implement 3–4 modes:
- Home
- Away
- Night
- Guest
- Holiday
Definition — Home mode
A “mode” is a global state (home/away/night…) that serves as a condition for your automations. It makes the system readable and prevents inconsistent behavior.
9) Buying sensors with “exotic” batteries
Mistake: choosing sensors with uncommon batteries (often expensive, hard to find).
Instead:
- favor sensors with standard batteries (AA / AAA / CR2032…),
- or better: mains-powered sensors where possible (some mmWave presence sensors, mains modules, etc.).
Real experience:
I have several SwitchBot Bots, and they run on CR2 batteries. Except CR2 isn’t the battery you have in the “just in case” drawer. At the shop near me, they cost €3–4 each. When you have 2 or 3 to replace in the same week, that stings. And above all: you waste time tracking down a “non-standard” battery, instead of doing a 30-second replacement.
On the flip side: I love IKEA sensors because a good number of them run on AAA batteries. And that’s a luxury: you can find them anywhere, they’re cheaper, and you can easily stock up.
Simple tip
Create a “low battery” alert in Home Assistant (phone notification, message, or dedicated card). You anticipate the failure, group replacements, and buy the right format at the right time. I use the Low Battery Notifications & Actions blueprint to manage this.
👉 Simple method to get started right (and avoid regrets)
-
Set your standards Standard batteries + default protocol (Zigbee) + max 2–3 brands per category.
-
Secure your network foundation Mesh Wi-Fi if needed, Ethernet for infrastructure, and a Plan B if your router goes down (the GSM plug is a real “safety net”).
-
Strengthen Zigbee Mains-powered plugs/modules + 1 or 2 well-placed repeaters if the house is large.
-
Deploy 3 “low-risk” automations Comfort, not critical functions.
-
Create your home modes Home/Away/Night (minimum), and base everything else on them.
-
Set up alerts Low battery, device unavailable, network loss… you want to be notified before it becomes a failure.
🩺 Common mistakes and best practices
| Common mistake | Best practice |
|---|---|
| Migrating everything at once | Migrate by zone (one room / one category), stabilize, then extend |
| Adding cloud dependencies without need | Favor local and standards |
| Buying ad hoc | Standardize, otherwise you create an impossible puzzle to maintain |
| Buying without planning returns | Smart home is like DIY: testing is part of the game. Buy where returns are easy |
✅ Conclusion
If I had to summarize, the real mistakes in home automation don’t come from a misplaced sensor or a misconfigured automation. They come from decisions made “on a whim”: one more brand, one more protocol, a camera “quickly picked”, undersized storage.
Over time, this creates a fragile system. Not necessarily visible at first, but which ends up being expensive: instability, maintenance, workarounds, permanent troubleshooting.
Today, I have a simple rule: I prefer a coherent smart home over one that goes in all directions. Fewer surprises, fewer dependencies, more continuity. And that’s where Home Assistant becomes what it should be: a tool that gets out of the way.
FAQ
Questions fréquentes
ZHA or Zigbee2MQTT: which should I choose to get started?
If you're aiming for a setup that will grow, Zigbee2MQTT is often more comfortable in the long run: compatibility, settings, diagnostics. The real "right choice" is the one you won't have to migrate from in 6 months.
Is Wi-Fi really to be avoided in home automation?
- Zigbee for the bulk (sensors, plugs, lighting)
- Wi-Fi for a few targeted uses, on a solid network (mesh if needed)
How do I avoid the stress of "no internet = no cameras/alarm"?
And if you want to go further: favor equipment that maintains minimal local operation even without cloud access.
Where do I start to avoid getting put off Home Assistant?
Then quickly set up home modes (Home / Away / Night). That's what makes your installation readable, stable, and understandable… even 1 year later.

.CUeYkqze.png)